How To Build and Manage A Page For Your Sponsorship Opportunity
We get asked a lot about how to add a property (i.e. sponsorship opportunity) to SponsorPitch's Property Index. Here's a quick step-by-step tutorial that walks you through the 5-step process for creating a new property page and how to get started managing your new page. If a page already exists for your property on SponsorPitch, you can simply click the 'Manage This Page' button on the right hand side of the page to start managing it. If not, here's what to do to create a new one:
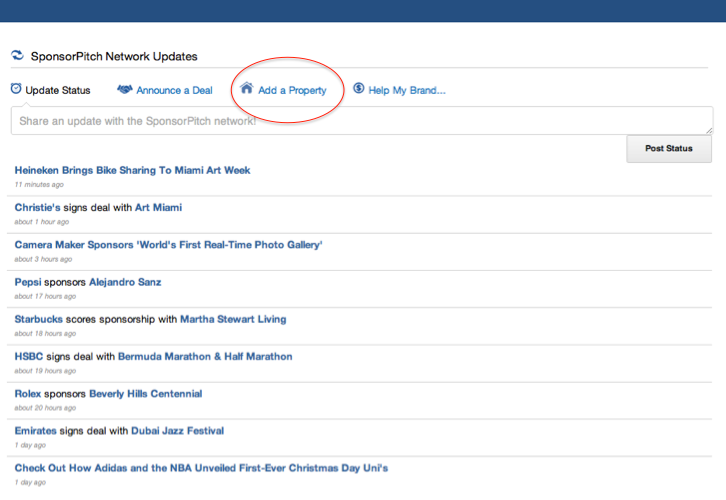
Step 1: Go to your SponsorPitch dashboard and click the Add a Property link at the top of the page.
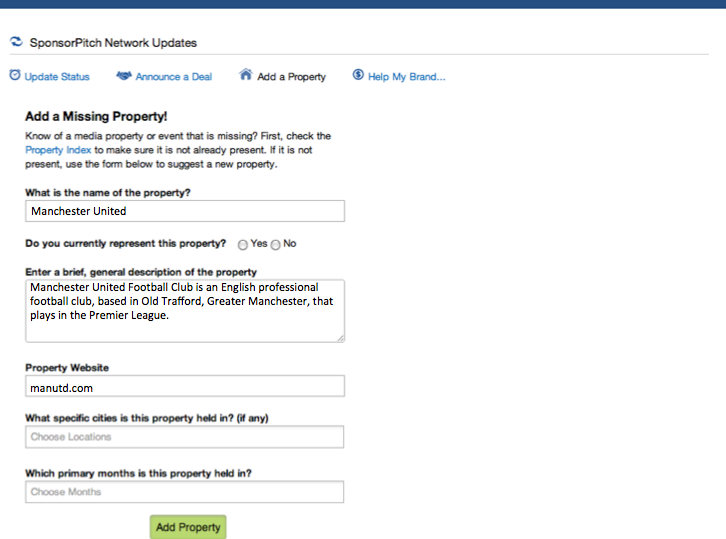
 Step 2: Fill out the short form with as much detail as possible. In general, the more information you provide the shorter the wait time will be until your page is approved. You can also become a subscriber for Fast Track Approval.
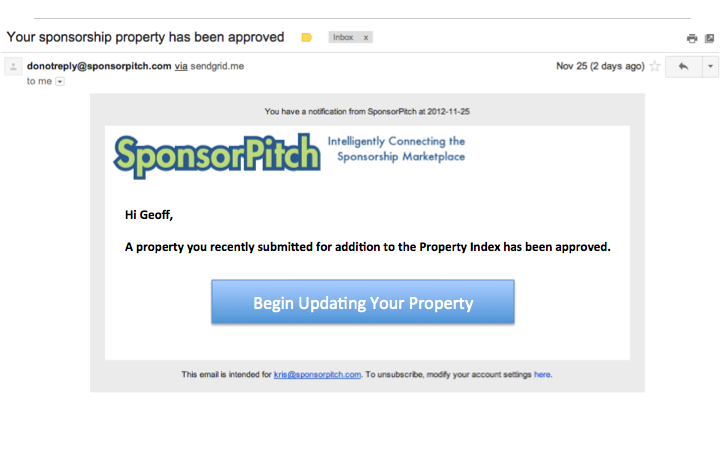
Step 3: Once your property page is approved by our quality assurance team, you will receive an email like this. The volume of other submissions, the amount of detail you provide in yours and whether you are a current subscriber influence how long you may have to wait to have your property approved. Our QA team can only do so much in one day! When your property submission is approved, you'll get an email like this..
Step 4: Once you click Begin Updating Your Property, you'll be linked to your new property page. Click the 'Manage This Page' button on the right side of the page to get started updating your page.
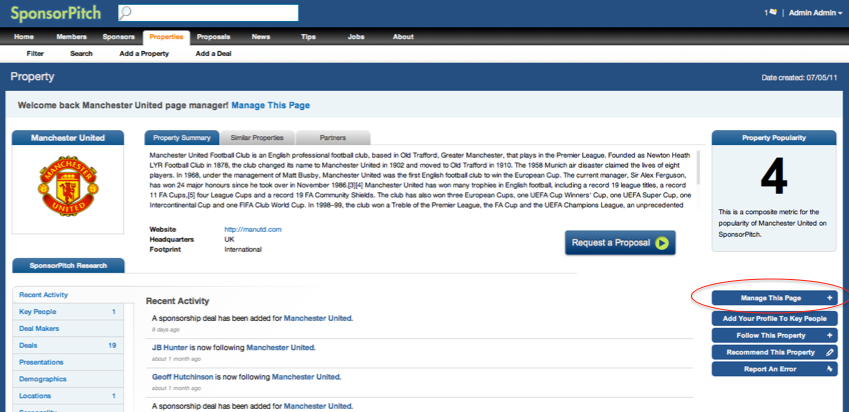
Step 5: Once you're in the management portal, select the item you'd like to update from the left hand side of the page. In the example below, demographics is chosen for editing, but you'll also be able to update logos, descriptions, your website; add locations and seasonality; upload a powerpoint presentation; and more.
